
Create your first bot
Choose an engine, folder, and working style for a useful first agent.
Before you start
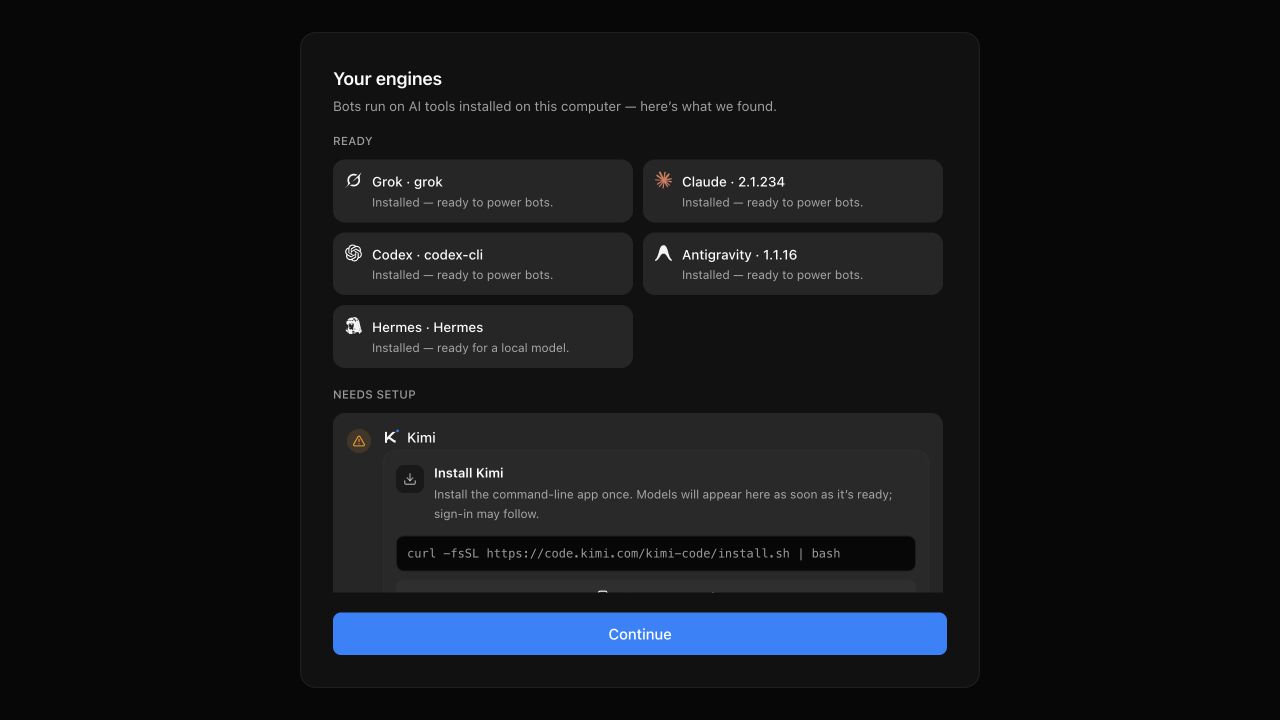
Install and sign in to at least one supported agent CLI. Dash Bot detects installed engines during onboarding and again from App settings → Agent engines.
Create the bot
- Select New or share in the sidebar.
- Choose New bot.
- Give the bot a clear name and purpose.
- Select its agent engine and model.
- Choose a working folder if it should edit files or work in a repository.
The working folder matters: it becomes the bot's starting context and limits accidental edits elsewhere. Use a dedicated project folder for coding, research, or content work.
Give it a useful first task
Start with a concrete outcome and the constraints that matter:
Review this project, run the tests, and explain the three highest-impact issues.
Do not change files yet. Link each finding to the relevant file.
Once you trust the diagnosis, ask the bot to implement the change. This keeps review and mutation as separate, easy-to-check steps.
Tune the bot
Open Bot settings to change its name, avatar, instructions, engine, model, working folder, and computer setup. Different bots can use different engines and folders at the same time.
Authentication belongs to the CLI
Dash Bot launches agent tools you installed. If an engine returns a 401 or asks you to sign in, finish that engine's own CLI login, then refresh detection in App settings.